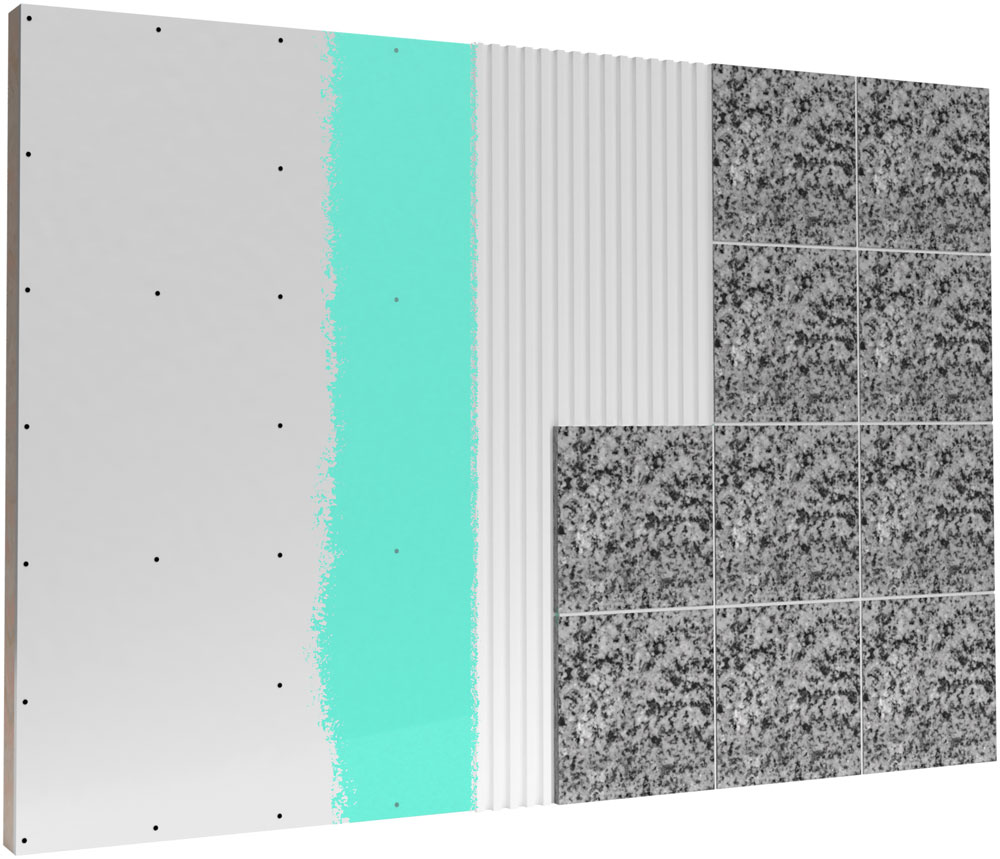
General Information
√ Allow 4 weeks minimum for new plaster to dry.
√ Ensure surface is free of any contaminants, loose dust or dirt.
√ Polished/shiny plaster must be brushed with a stiff brush.
√ Maximum weight when tiling to plaster is 20kg per m² including tiles, adhesive and grout.
√ Any paint must be removed prior to tiling.
Tiling Guidelines
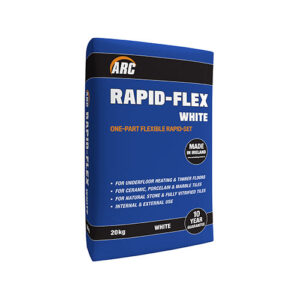
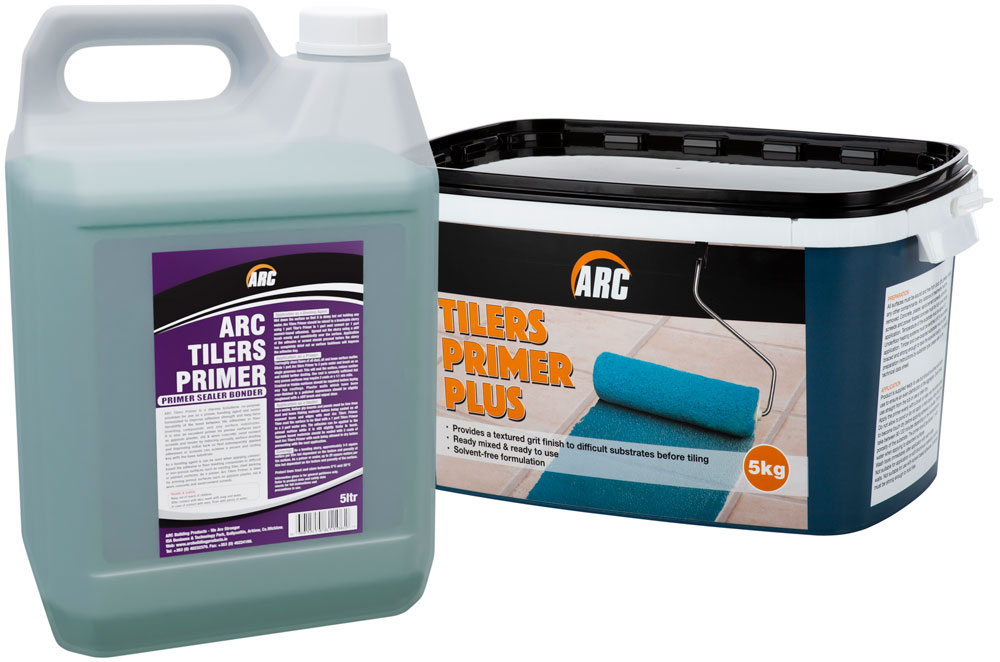
- Prime the plaster with Arc Tilers Primer diluted 3 parts water to 1 part primer followed by a second neat coat & allow to dry.
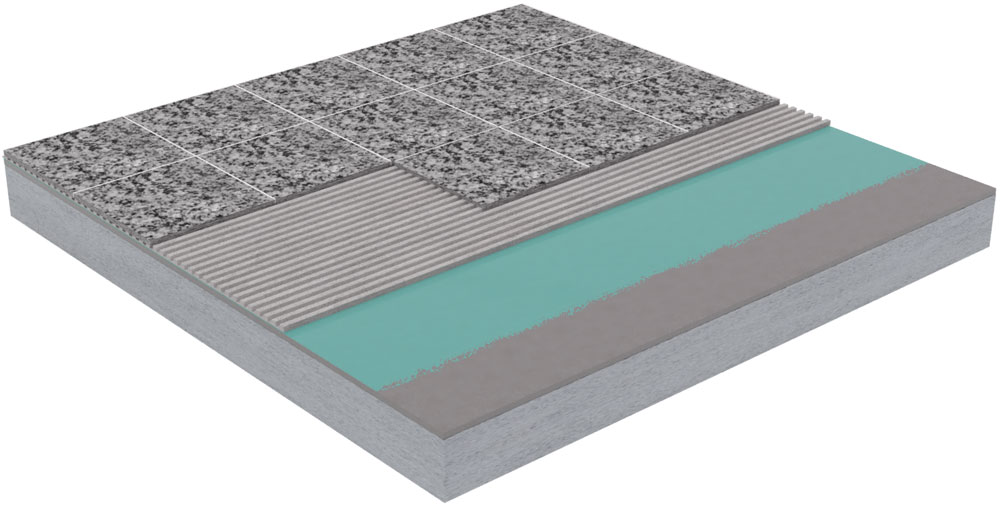
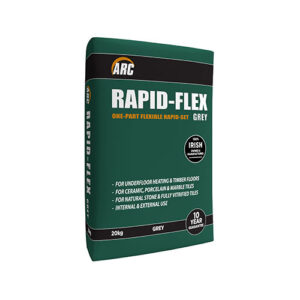
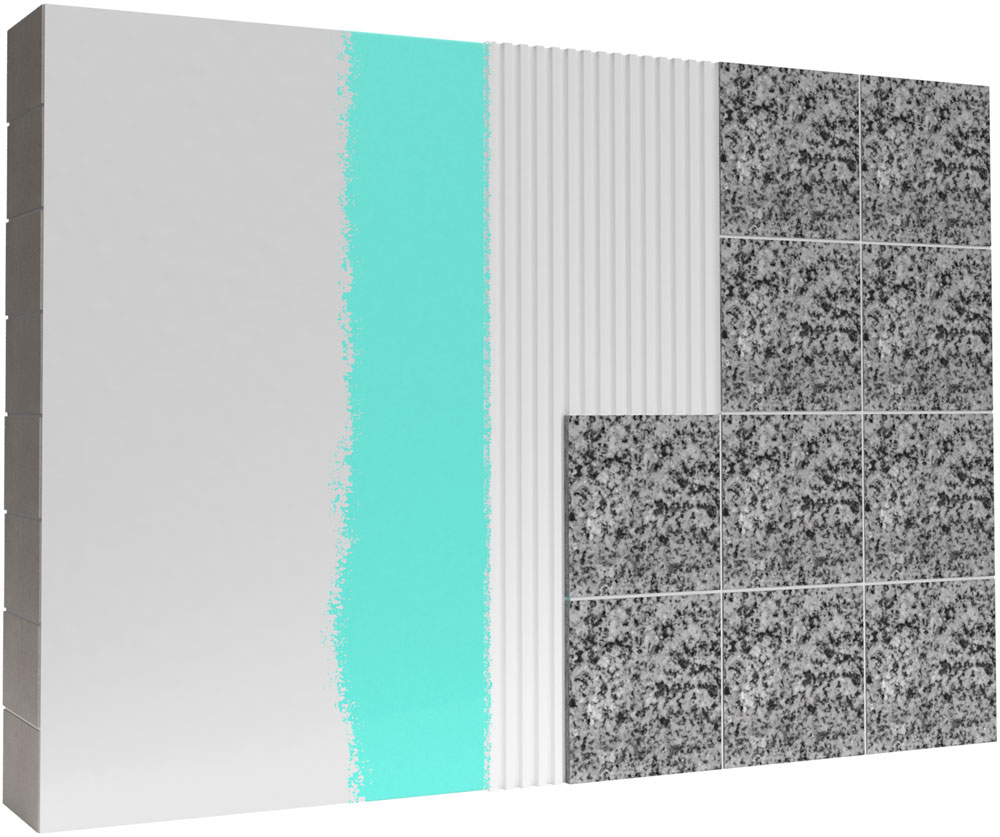
- Apply a bed of Arc Pro-Flex, High-Flex 55 Standard Set or T-20 Tile Adhesive and bed in the tiles or slabs in accordance with the usual practice.
- Finish with Arc Pro-Line Grout.
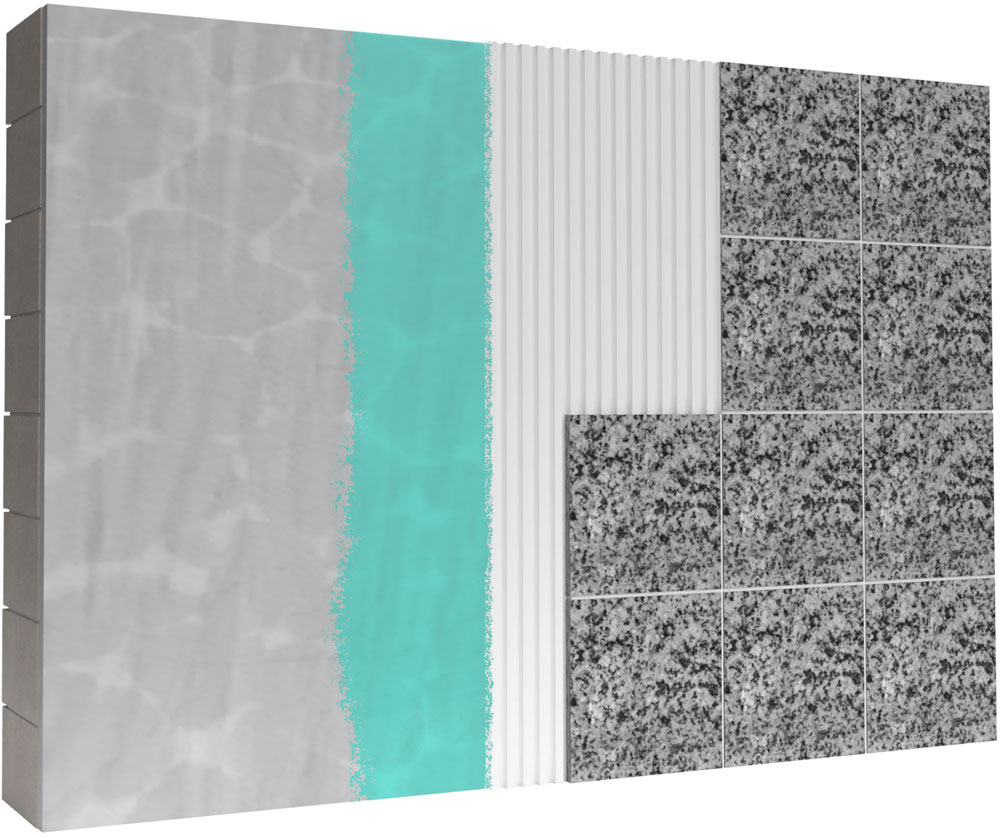
General Information
√ Ensure the boards are fixed securely to the framework, ideally screwed at 300mm centres.
√ Ensure surface is free of any contaminants, loose dust or dirt.
√ If the plasterboard is fixed to a timber frame, a flexible adhesive and grout must be used.
√ Maximum weight when tiling to plasterboard is 32kg per m² including tiles, adhesive and grout.
√ Any paint must be removed prior to tiling.
Tiling Guidelines
- Prime the plasterboard with Arc Tilers Primer diluted 3 parts water to 1 part primer.
- Apply a bed of Arc Pro-Flex, High-Flex 55 Standard Set or T-20 Tile Adhesive and bed in the tiles or slabs in accordance with the usual practice.
- Finish with Arc Pro-Line Grout.
General Information
√ Allow 2 weeks minimum for new render to dry.
√ Ensure surface is free of any contaminants, loose dust or dirt.
√ If tiling externally, protect the tiled area from water ingress for 24-48 hours.
Tiling Guidelines
- Prime the render with Arc Tilers Primer diluted 3 parts water to 1 part primer & allow to dry.
- Apply a bed of Arc Pro-Flex, High-Flex 55 Standard Set or T-20 Tile Adhesive and bed in the tiles or slabs in accordance with the usual practice.
- Finish with Arc Pro-Line Grout.
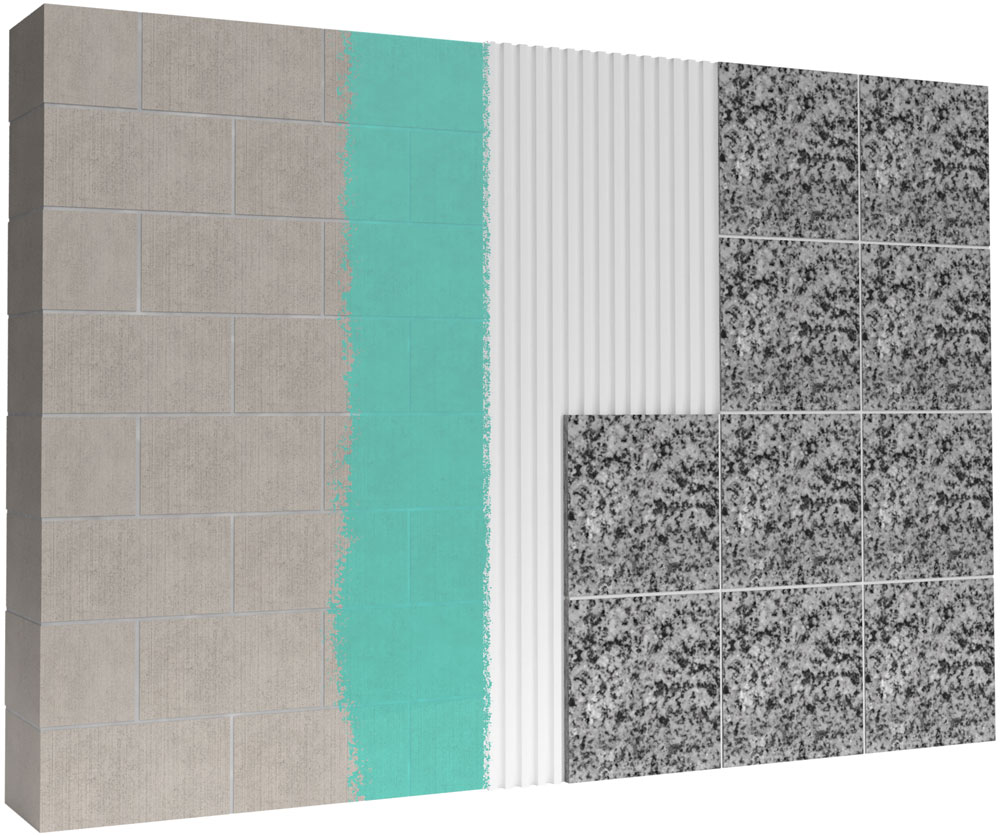
General Information
√ New block work must be left for a minimum of 6 weeks before rendering or plastering.
√ Ensure surface is free of any contaminants, loose dust or dirt.
√ If tiling directly to block work, ensure the wall is smooth faced.
√ If tiling externally, a flexible adhesive and grout must be used and protect the tiled area from water ingress for 24-48 hours.
Tiling Guidelines
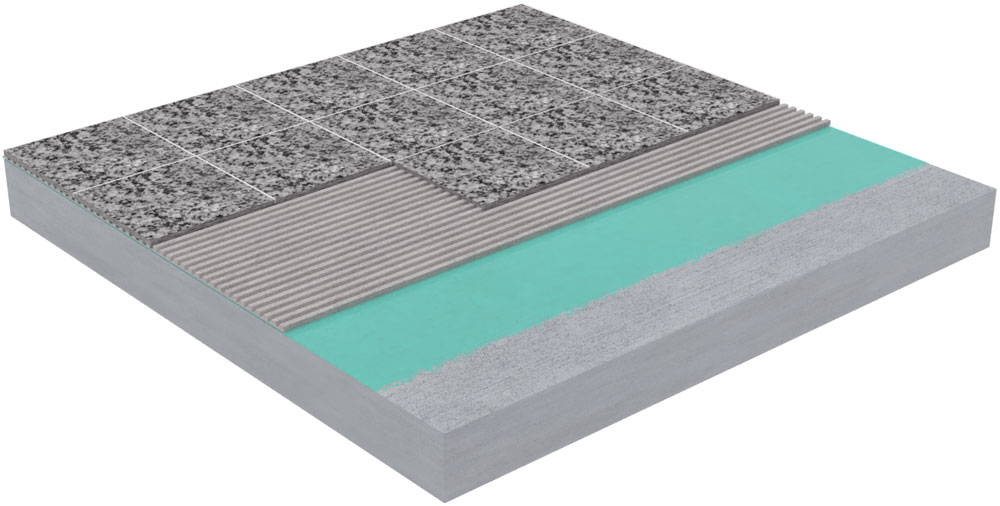
- Prime the surface with Arc Tilers Primer diluted 3 parts water to 1 part primer & allow to dry.
- Apply a bed of Arc Pro-Flex, High-Flex 55 Standard Set or T-20 Tile Adhesive and bed in the tiles or slabs in accordance with the usual practice.
- Finish with Arc Pro-Line Grout.

General Information
√ Ensure existing tiles are firm, stable and securely fixed.
√ Ensure surface is free of any contaminants, loose dust or dirt.
Tiling Guidelines
- Prime the surface with Arc Tilers Primer Plus neat coat & allow to dry.
- Apply a bed of Arc Pro-Flex, High-Flex 55 Standard Set or T-20 Tile Adhesive and bed in the tiles or slabs in accordance with the usual practice.
- Finish with Arc Pro-Line Grout.
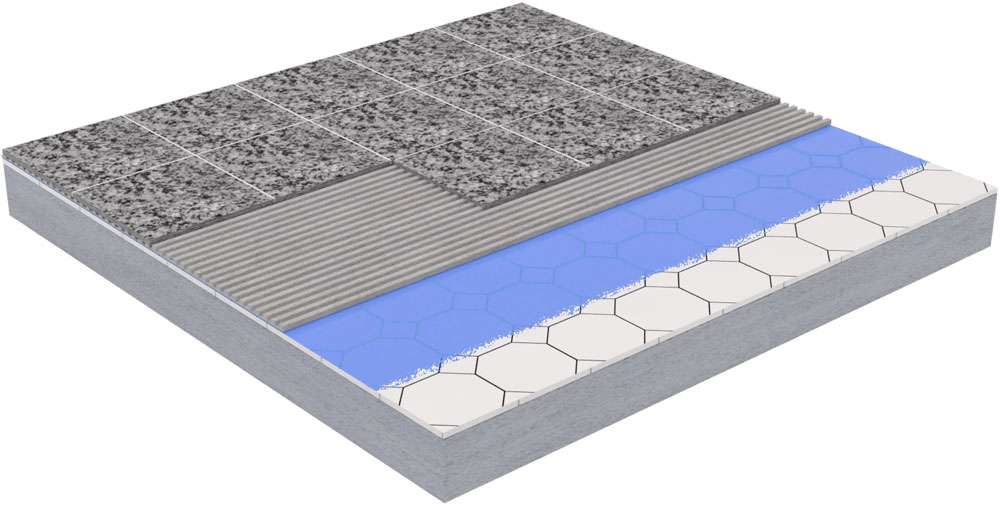
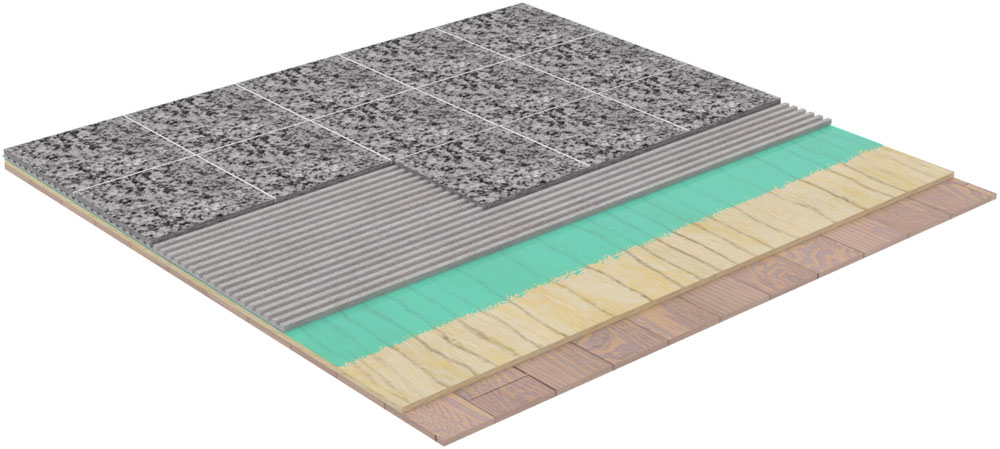
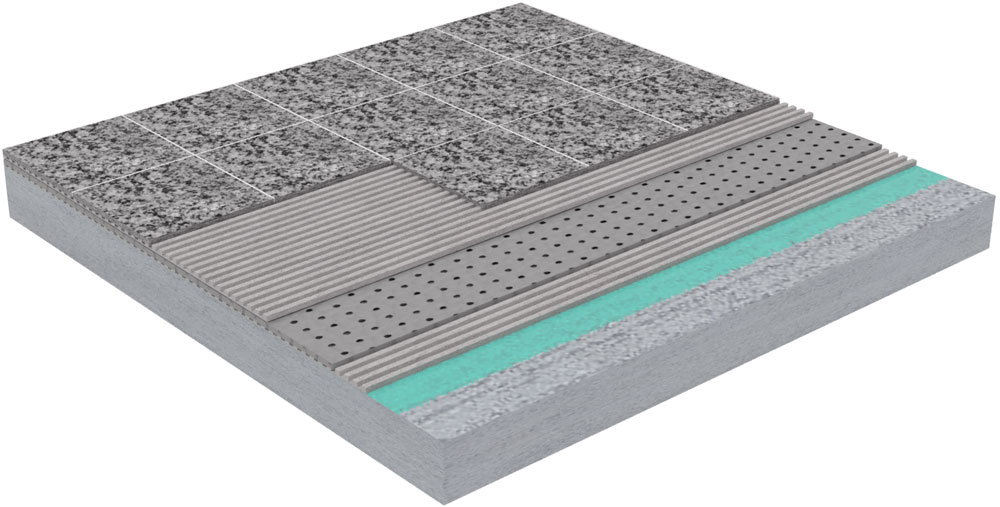
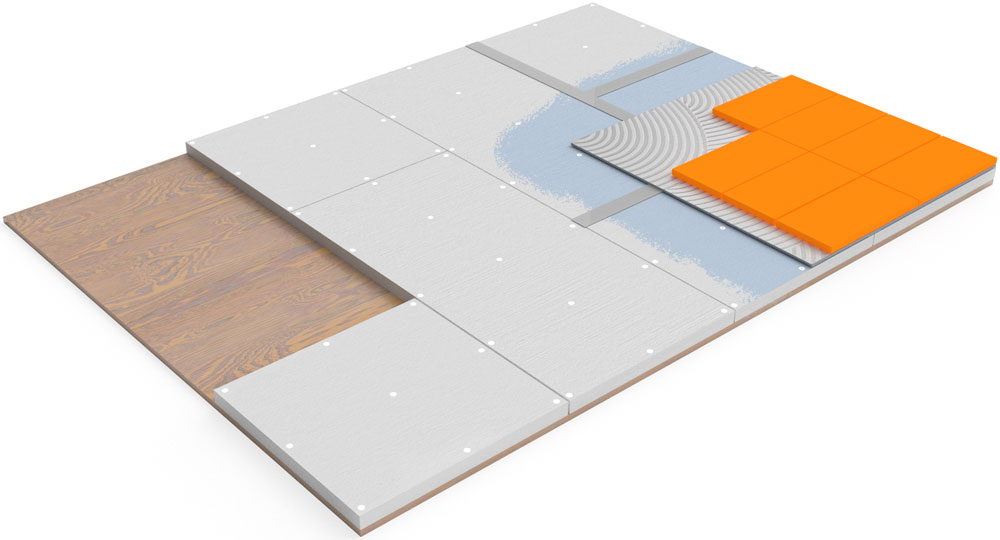
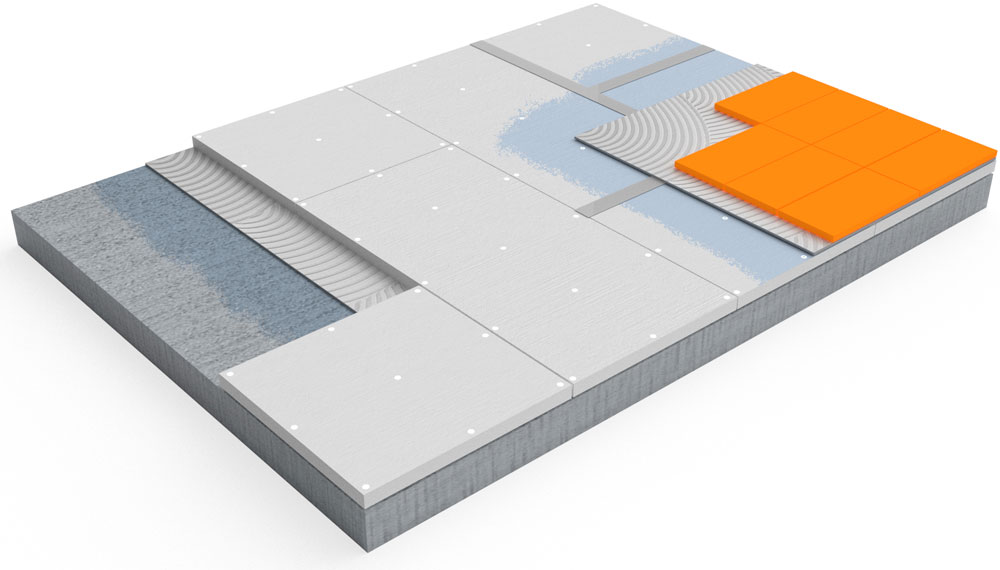
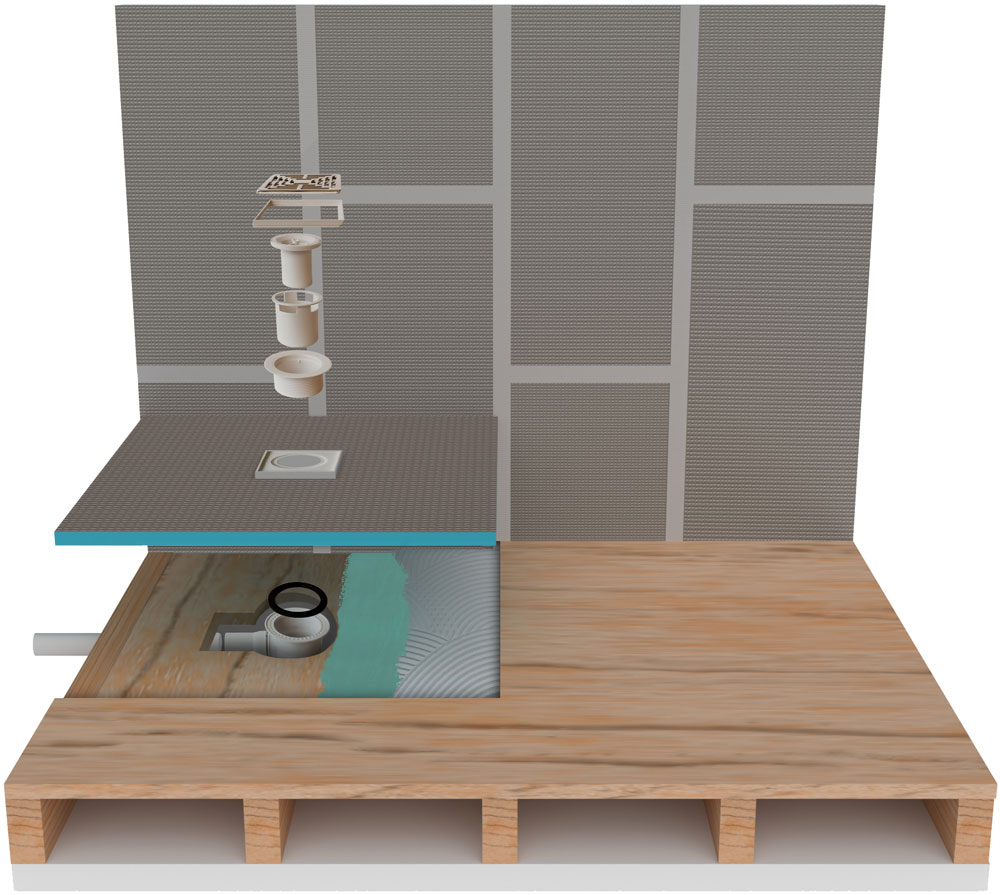
General Information
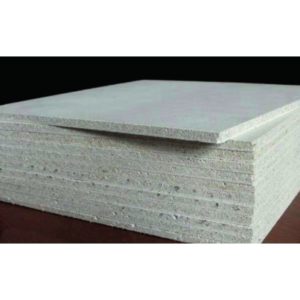
√ BS 5385 Part 1: Tiling direct to plywood is no longer recommended for wall tiling, but a bespoke tiling backer board should be used.
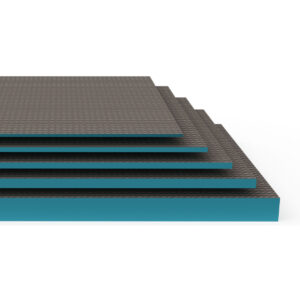
√ Arc recommends using Magna Boards as a backer board.
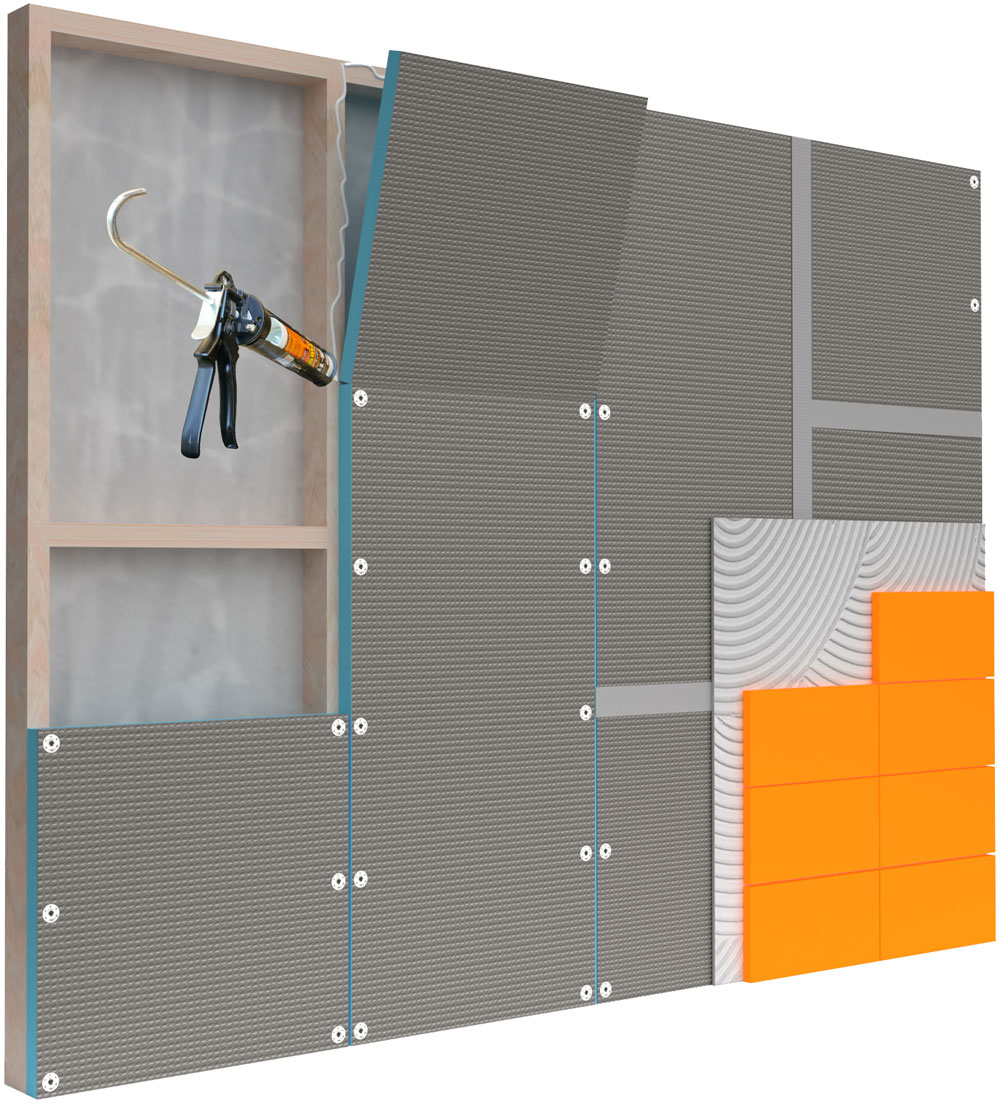
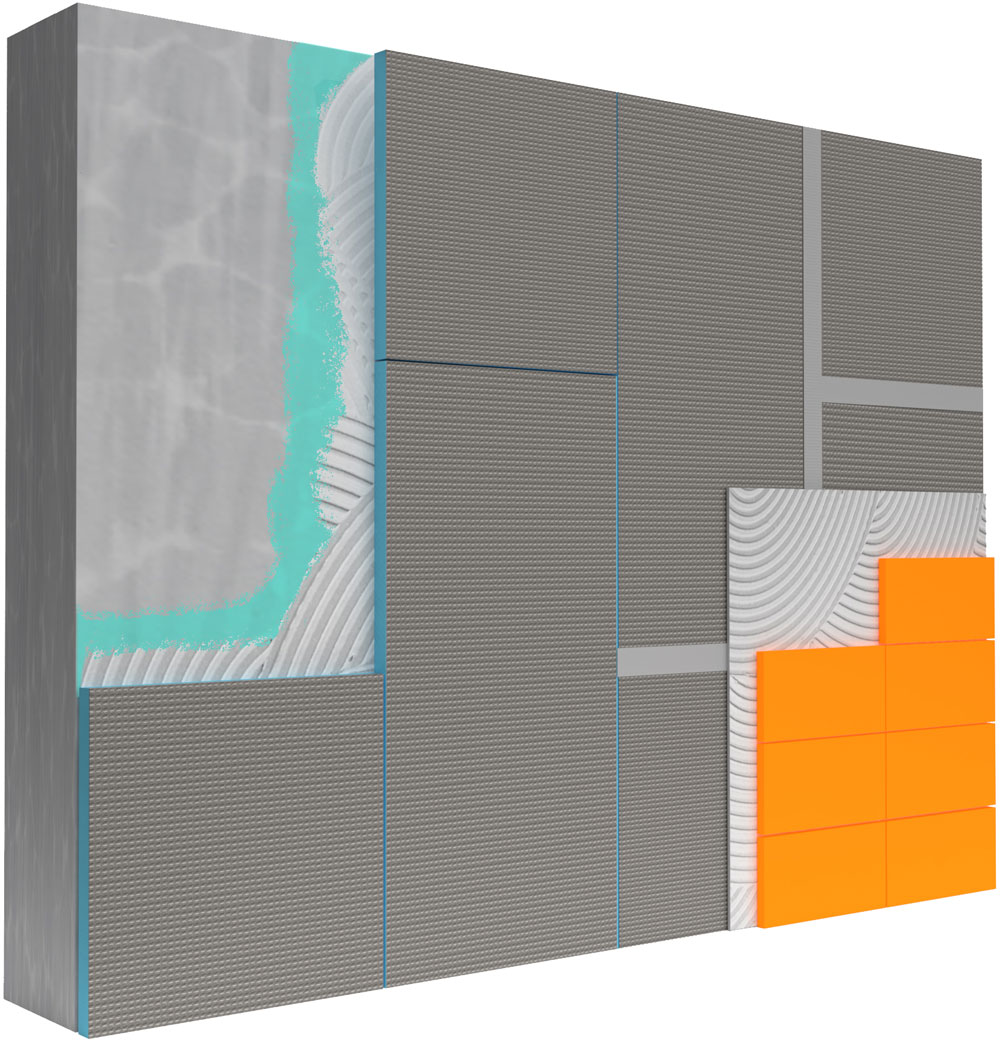
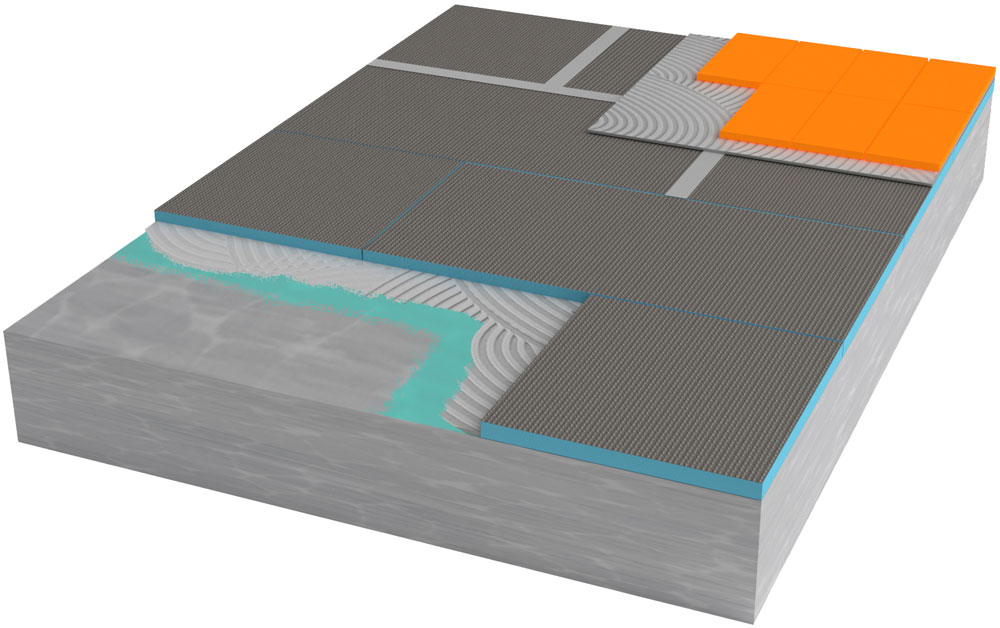
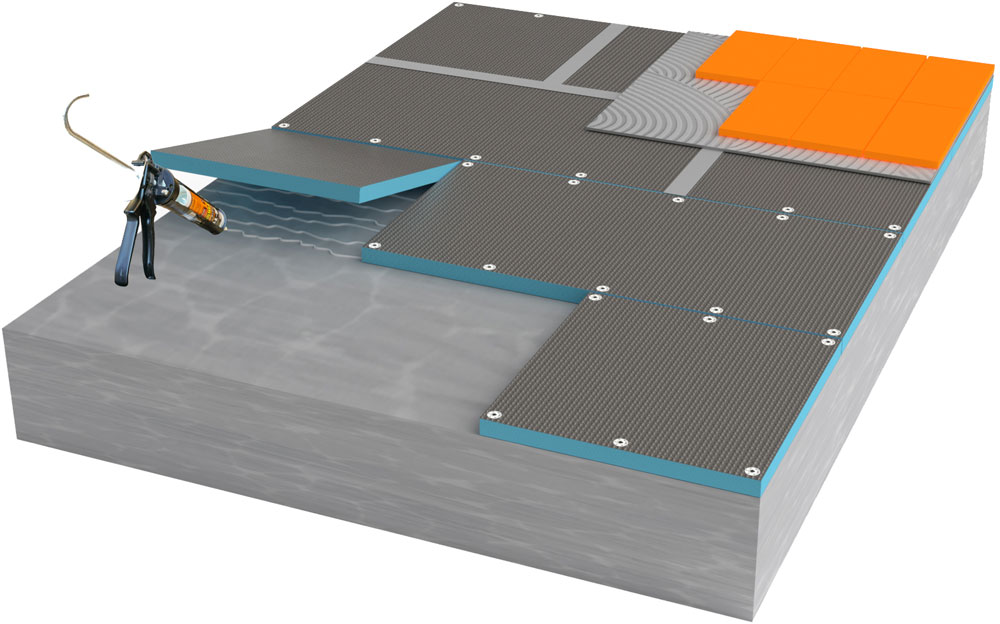
Tiling Guidelines
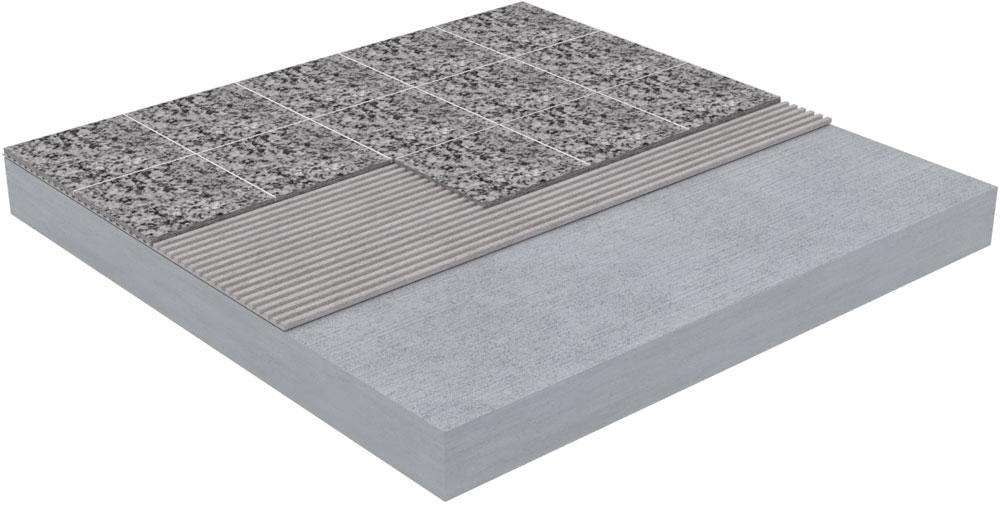
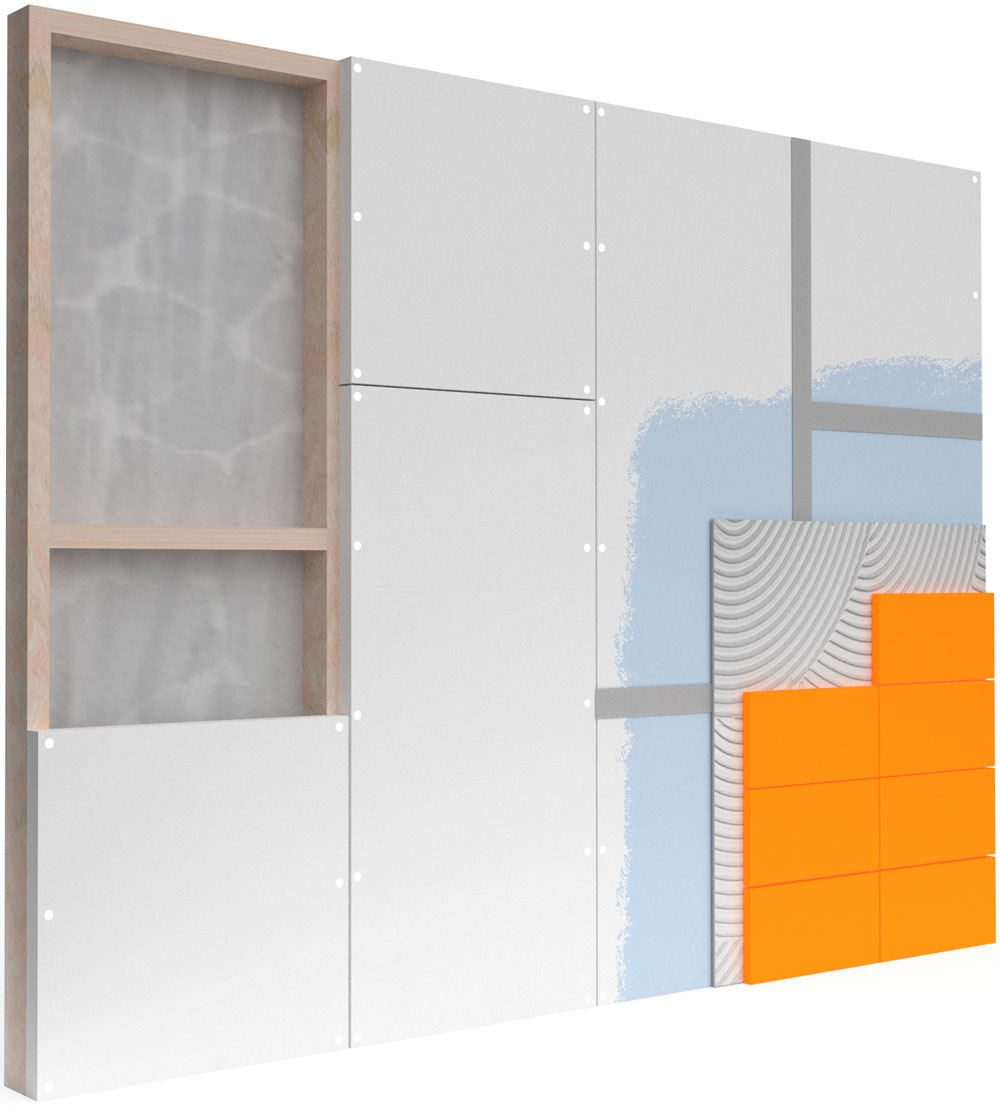
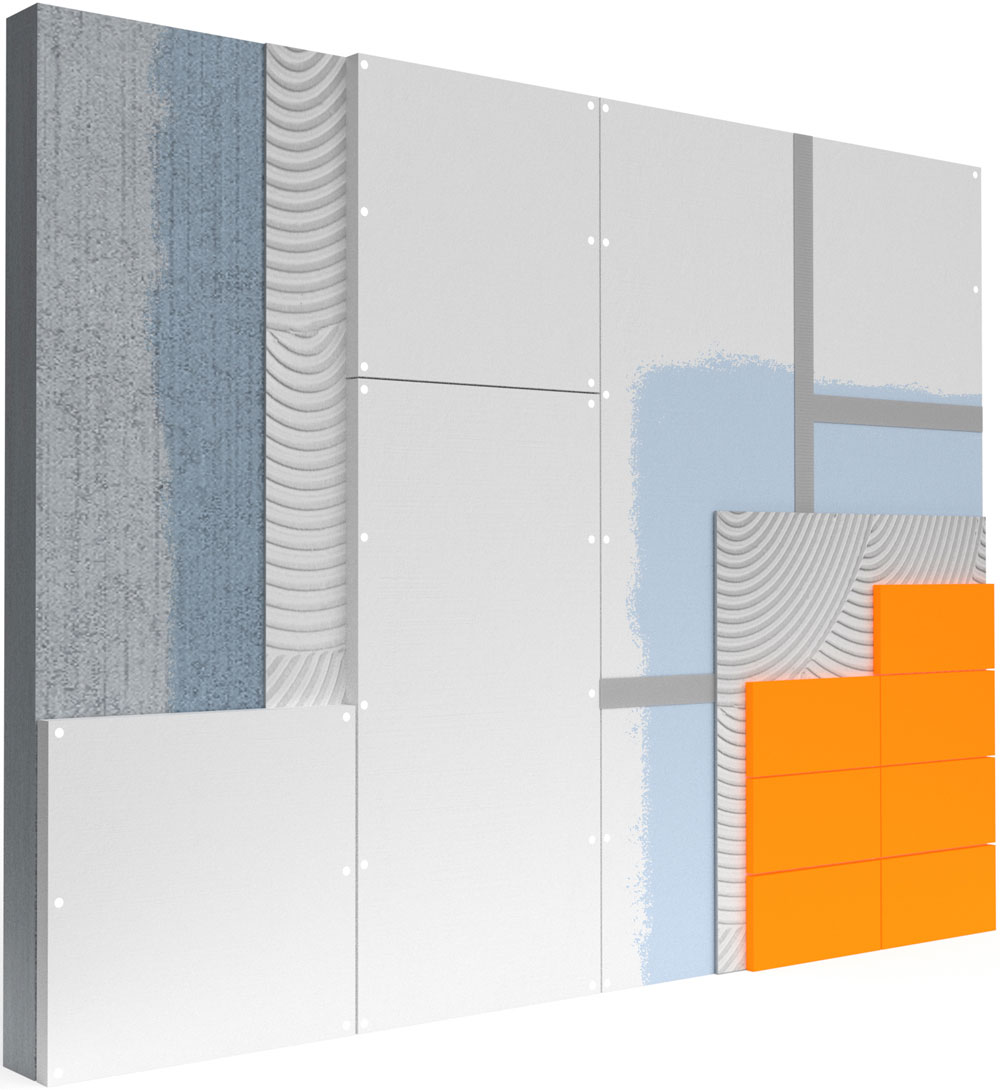
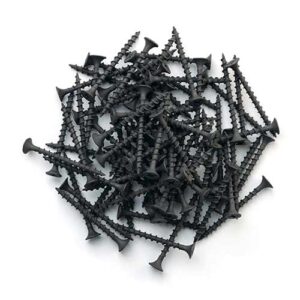
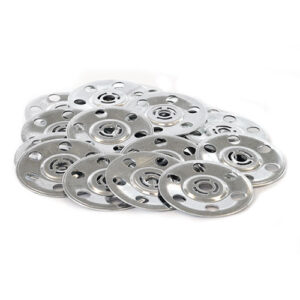
- Fix Arc Magna-Boards to the plywood using stainless steel or galvanised screws every 300mm. Fixings should be at least 15mm from the edge and 20mm from the corners. Boards should be offset so that 4 corners never meet at the same point.
- Prime the Arc MagnaBoards with Arc Tilers Primer diluted three parts water to one part primer.
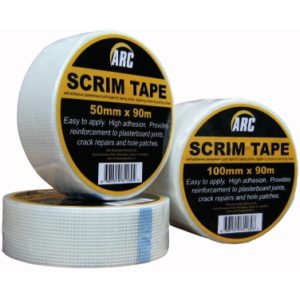
- Joints should be taped with Arc Scrim Tape.
- Apply a bed of Arc Pro-Flex or High-Flex 55 Standard Set Tile Adhesive and bed in the tiles or slabs in accordance with the usual practice.
- Finish with Arc Pro-Line Grout.